
Eventually, every cocktail enthusiast is going to want to make a good drink away from home. Whether you’re invited to a party by someone who knows your dedication to the craft or you are taking a trip to a planned destination, having the essential tools to get the job done can mean the difference between a good drink and a great one, or it can open up recipe possibilities that you might otherwise avoid without the proper gear.
For years, we have often traveled with a portable collection of bar tools to make this easier. Sure, you can stir a Martini with your finger, but shaking a sour or measuring a favorite classic is so much easier if you know what to expect from the equipment at hand, and the best path to success is to bring your own tools. After all, you have a reputation to uphold.
As you might expect, we have tried a lot of spoons, shakers and measuring cups over the years. Many of our duplicate items have been handed out to friends or have ended up in a “boneyard” box. We eventually started pulling together the things we thought we might need for travel. The goal was to have something ready to go so that we weren’t robbing our main bar set or forgetting some essential item over and over again. Our first usable kit began with a small collection of tools from our BarSmarts certification course. These definitely get the job done, and we really like the fold-over shoulder bag that came with the class, but we wanted to upgrade a few things.
With a larger set of travel gear, we tried putting it all into an antique wooden box. That box had a tight closure latch and solid handle, but the wood added weight and the rigid design wasn’t always ideal alongside a duffle or a backpack. We also worried about our shaker glass and bitters bottles banging around inside and had to develop a method to protect everything.
Recently, we stumbled across the “roll-up” carry bag design from Mixology & Craft and decided to give it an honest review. They sell a bunch of bartending starter kits with stands, wall-mount options and, of course, the Travel Bartender Kit. With all of the extra tools in our collection box, we opted for the bag-only version, but the full setback with tools included looks like a very good option too (although we would have wanted to swap out some things—see below). We like the idea of protecting tubular items like Boston shaker tins and a tempered stirring glass inside a zippered pouch while the flatter items get nestled into slots and pockets in a rollable canvas layout.
The Design
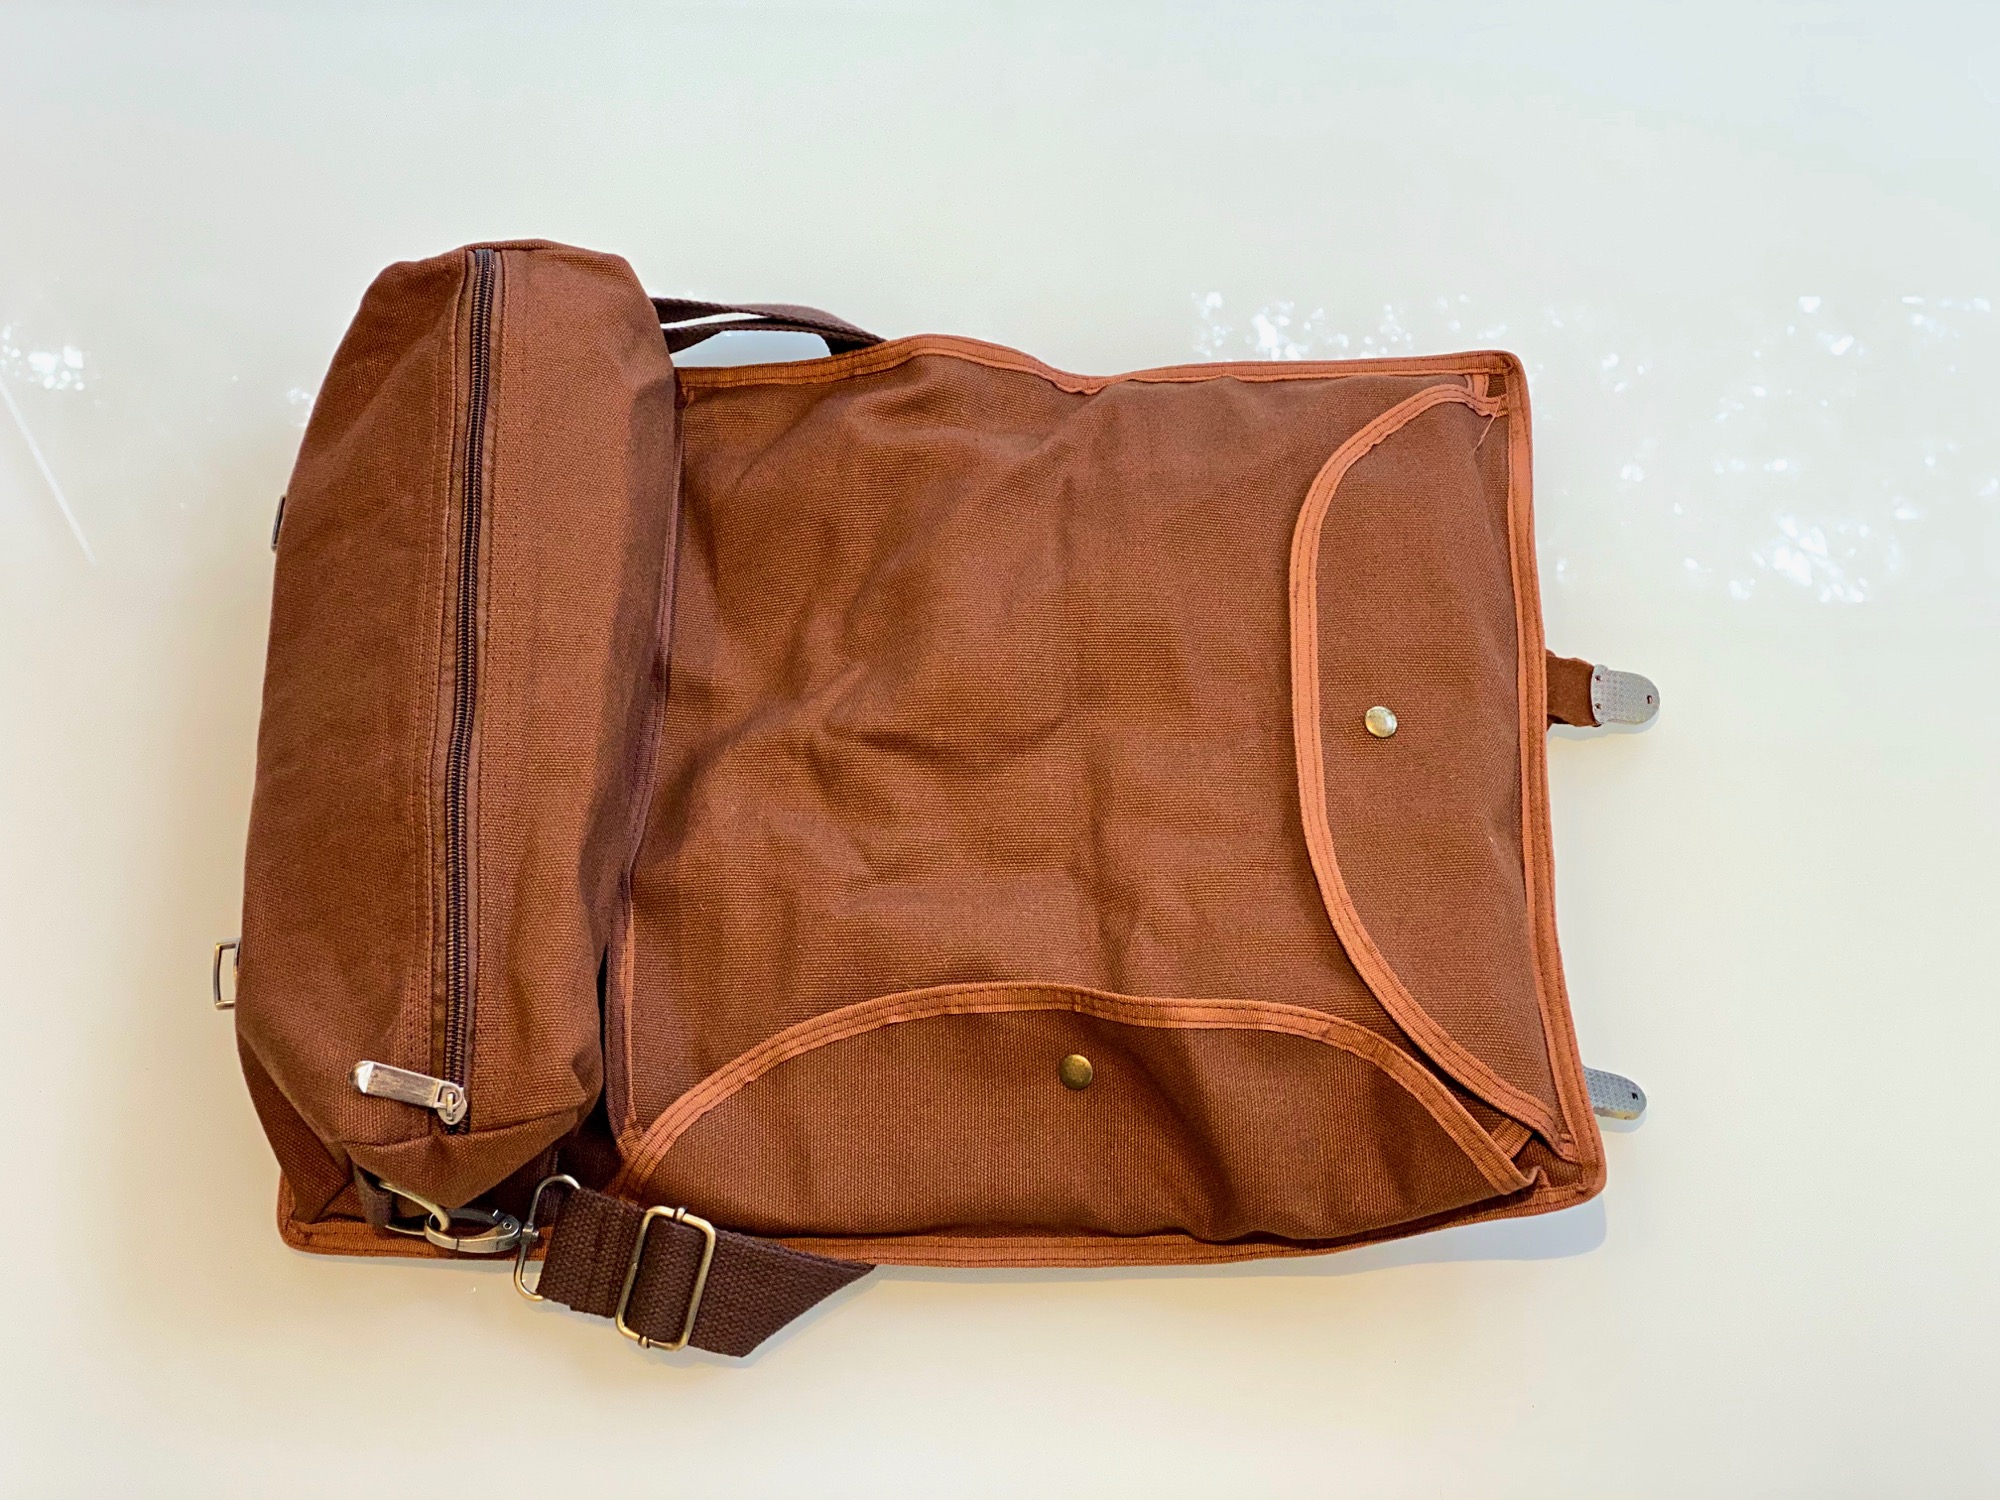
 The package arrived, folded nicely in a tastefully decorated box. This is a nice touch, especially for a gift item. Unfolded, there seems to be a place for everything. The shaker pouch is bigger than it needs to be which isn’t actually a problem. It affords plenty of flexibility for stacking and adding bulky items like a muddler. This generous zippered volume measures 4 inches square, seam-to-seam, by 13 inches along the zipper. The roll-up layout area covers a 14-inch height next to the the zippered pouch and unfurls an another 14 inches expanding the entire bag to 18 by 14 inches, with double-stitched reinforced edging all the way around the heavy canvas construction. The detachable strap can be sized to your need using a brass strap adjustment. In fact, all of the hardware is brass, from the zipper pull to the carabiner-style strap clips, D-rings, flap button snaps and roll-up buckles (with suede leather adjustment belts).
 With the pouch positioned to your left, you can unroll the tools section to your right. A large cover flap is stitched along the top and secured by snaps on the right and bottom. The snaps are mated to rounded overlap flaps which are also securely stitched into the reinforced edging. With the layout cover unsnapped, you can roll this out of the way or tuck it around the back to reveal the rest of your tools. You can now see three rows of elastic stitched into the edging at the right and under the zipper pouch at the left. The elastic is divided into sections for securing tools that correspond vertically to 5-inch high pockets along the bottom edge. Each pocket measures just under 2 inches wide with the last pocket at just over 3 inches.
On the back, suede leather straps have adjustable belt buckles and spring snaps. These secure the bag once rolled and can be adjusted to accommodate the size of your kit once fully loaded. Our straps had plenty of excess length to accommodate more tools, so we doubled them back through the buckle to tidy them up a bit. There is also a suede leather carrying handle.
Adding Tools
 You can buy the set completely loaded with tools, but we opted to use what we already own. Mixology & Craft made some very good choices to provide a complete set if you go that option. Everything is high-quality stainless steel, but there are a few items we might have skipped. For example, having the foresight to include a Lewis Bag for crushing ice with a few whacks of the muddler is an inspired decision (and lightweight), but we see no value in carrying a big metal bottle opener when the the corkscrew has one built-in. We love the fact that all strainer options are covered (Hawthorne, julep, fine mesh), but the bar spoon could be longer (30mm/12-inch would be ideal). We also love the citrus squeezer—an item that almost never appears in hotel/rental kitchens. We like that a jigger is included, but we have never carried bottle pouring spouts (maybe we should?).
There are a few missing items from the toolset version—most notably, a knife. They do have a channel knife for cutting twists, but the full set assumes wherever you are going will have a knife to cut citrus. Yet, everywhere we go the knives are dull. We also carry a mini cutting board. This is a godsend in places where you want to protect the prep surface or avoid dirt. We also have a mini rubber prep mat to catch drips, protect glassware and keep things from sliding around (helpful on a boat).
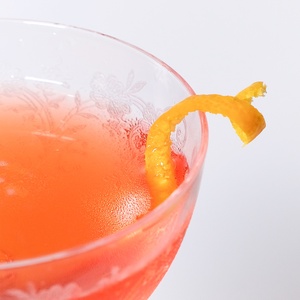
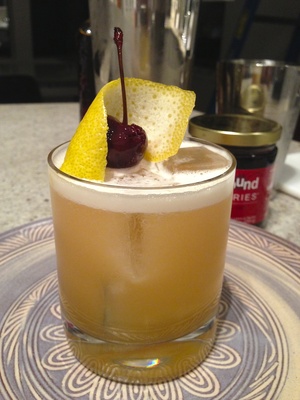
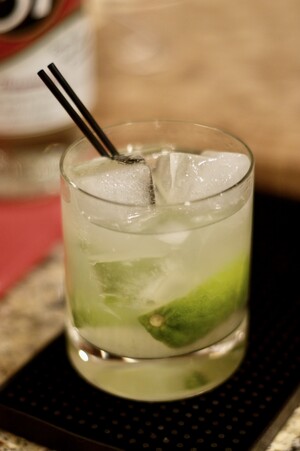
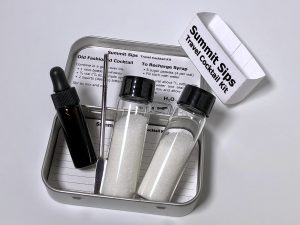
Another must-have in our kit is cocktail bitters. We like small dropper bottles and bring Angostura and Peychaud’s or orange. This covers most recipe options and they can stay in the kit getting refilled as needed.
We have a small ice scoop, so we added that in lieu of the ice tongs in the full kit. A scoop works well with crushed ice where tongs fall short. You can always use the julep strainer as a scoop, but we are usually already using it to strain Manhattans.
Instead of a metal jigger, we love the ISI silicone measuring cup. The two-ouncer is perfect for travel and it wraps neatly around the end of a muddler. Our muddler started life as a French rolling pin that was simply cut in half. You want a muddler that is at least 10 inches long so you don’t knock your knuckles into the rim of the shaker tin. We could have gone longer to get some extra hammer leverage for smashing ice in a Lewis Bag. Ours is a heavy canvas coin bag used by banks (washed of course) which is sturdy yet soft and absorbent, so it doubles as a towel if needed.
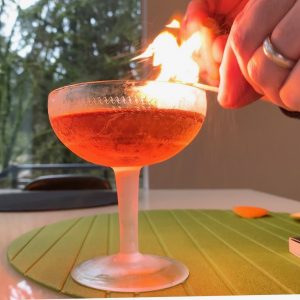
Speaking of towels, it can be handy to throw in some clean rags, or travel towels. We had a couple Finnish Marimekko ultra-absorbent squares which work well and the patterns always remind us of tiki. We also added a box of matches and some bamboo skewers for finishing touches or disposable stir sticks.
Performance
 With all of our tools rolled up (we are missing a citrus squeezer) the bag measures 7 inches in diameter by 14 inches long. This includes our cutting board which would work better if it were a little narrower. Overall, we like the dimensions, as this will pack easily into a suitcase or fill a packing gap between bags for road trip.
The carrying handle is perfect, making it easy to move the bag around. However, we question the placement of the D-rings. Maybe they work better with the full toolset, but with ours, the shoulder strap attach points are off-balance and the bag hangs sideways. The loops of webbing where the D-rings attach tend bunch up and let the rings slip out of position. This is a pet-peeve that we will probably “fix” by putting a few stitches into the webbing to prevent the D-rings from turning if we cannot correct for the problem by adjusting the positions of our tools. Maybe a citrus squeezer would make up the difference.
Not everyone will notice this, but the buckle clasps are attached to the outside of the zippered shaker pocket. On the inside are what looks like reinforcement patches of extra canvas. These patches in fact protect your tins and other items from scratches and bangs. It is a small detail but a welcomed one.
Regarding the tool layout, we wonder about the utility of the elastic. In some cases it is absolutely necessary and in others, a full pocket would have worked better. For instance, our OXO Hawthorne strainer has the original short handle which we have always liked, yet this does not slide very far into a pocket. A workaround we found that holds it in place is to thread the bar spoon under elastic and between the spring coils to hold it down.
We also need a place to put our bitters bottles. The best option is the bigger pocket which works, but that is the only wide pocket we have, and we fear they might slide out of position. Finally, we wish we had a spot to hold a few business cards or recipe notes. We threw in the Anvil 100 which we printed ourselves, but a zipper pocket would be really handy (and probably more expensive).
Overall, we think the Travel Bartender Kit is a great design. The perfect option is something sized to your exact tool specifications, but this bag is versatile. Where it falls short it does not fail, and we think we will get a lot of use out of it in the upcoming years! Check out our photos for more details, pickup yours via Amazon or look at all of the items Mixology & Craft has to offer.